
Bohemia Interactive's mega-hit ArmA 3 has taken the mil-sim world by storm, transporting hundreds of thousands of eager gamers to Altis. Behind all that freedom, however, it has a reputation for being confusing and unforgiving.
Well hold onto your helmets, because Checkpoint Restart is here to take you from cowering grunt to combat guru with our guide to ArmA 3!
* * *
Gameplay Overview
In ArmA 3, players take part in an interactive adventure, exploring the dense jungle of Altis and battling against the corrupt government to prevent a nuclear war. Of course, at the time of writing the final campaign episode is still in development, so this is all subject to change! There are even some rumours that the developers will eventually be adding a new 'alien' faction to the game, so keep your eyes peeled for flying saucers!A hardcore, realistic shooter, ArmA's actual gameplay is strikingly similar to an earlier game for MS-DOS called Operation Flashpoint. How Bohemia Interactive have got away with such blatant cloning is beyond me, but they now have the more successful product so I guess it worked. Last I heard, Codemasters was still working on games under that ancient Operation Flashpoint moniker, but I think they're all just racing games now.
 |
| The basic ArmA 3 HUD layout. |
The whole process is surprisingly painless, if you discount the three or four hours spent grouping and re-synchronising triggers that stop working for no discernible reason, half an hour here and there trying to decipher the interminably awful (or entirely absent) documentation, and a whole goddamn hour wasted on getting one guy to just fucking stand in the right place, desperately hammering at your keyboard and crying in frustration at the editor, which just sits there and stares back at you blankly with that stupid, puffed-up shambles of an interface.
 |
| Anything is possible. |
Multi-player is much the same experience, but the braindead AI team members are replaced with braindead strangers who wouldn't know teamwork if it teabagged them. The missions are often simpler, thanks to no-one actually knowing how to construct anything complicated without it all disintegrating, but it doesn't matter. Even the simplest triggers will still fail to fire, basic scripts will spew errors across the screen, and half the players will crash before the mission ends. It's all part of the ArmA experience.
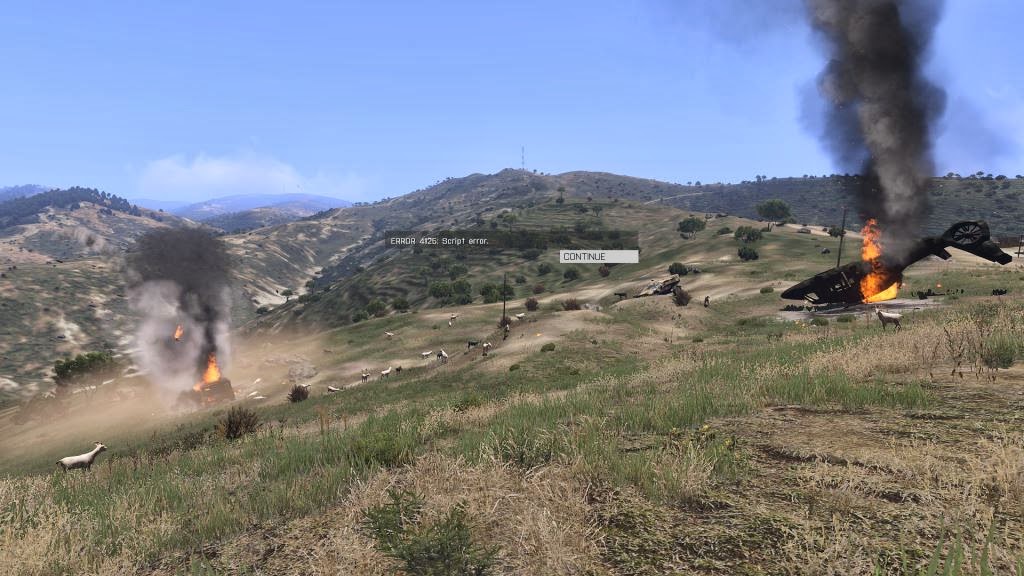 |
| Expect the unexpected. |
* * *
Know Your Squad
Just like in real life, knowing the different roles in a modern combat squad can make the difference between life and death. Get to grips with them all here, and you'll be on the fast-track to leading your own squad! |
| If you run out of ammunition, reload. |
Players choose a squad role in the game lobby. If you're given a role you don't like, drop all of your equipment and refuse to leave the starting area until you get what you want. If possible, throw your grenades around (see later on for more on this) to get the attention of other players. If you aim it just right, you can even knock their helmets off! Ping!


Several other combat and non-combat roles are available, but only as paid DLC (such as the 'Combat Engineer Pack', adding three different types of mine and a new camouflaged spanner item) which is beyond the scope (and limited budget) of this guide.
* * *
Vehicles
Many fans of the series have expressed disappointment regarding the amount of content in ArmA 3 when compared to previous entries. Nowhere is this more justified than the latest game's virtual garage, as ArmA 3 features just four(!) different vehicles. Nevertheless, here's our run-down of the options available along with some sage handling advice: |
| Speed is the key. |
 |
| Advanced evasive manouvres. |
 |
| A brown-trousers moment for the enemy. |
 |
| A camouflaged SDV. |
In response to the community's anger at the lack of content, Bohemia Interactive have promised to add a bicycle and a jetski to the game. Sadly, little has been seen of this content aside from very early (pre-alpha) screenshots - if it will ever see the light of day is questionable.
* * *
Basic Tactics
While ArmA is known for its punishing difficulty level, many basic tactics carry across from other popular games. Like every major shooter of recent years, ArmA 3 features a regenerating health system. If you find that you are taking too much incoming fire, hit your ' (apostrophe) key to take a quick rest and regain your hit-points, but beware; you'll still be vulnerable to attack during this time! |
| Choosing the right moment to heal is crucial. |
Make sure you are using your weapon's fully-automatic mode by pressing 'F' (note that this setting is not yet available for rocket launchers, but I've heard rumours that it is coming in a future patch). Semi-automatic mode is for newbies only! If you only want one bullet, just press 'fire' once. Yet another example of the developers dumbing things down for the casual audience.
|
| Aim your weapon towards the enemy for optimal effectiveness. |
If you managed to get several kills in quick succession, you will unlock a 'kill streak'. This is an ArmA-exclusive feature which allows you to call in devastating air strikes, laser satellites, or small dogs. Making use of the game's built-in voice recognition, you activate these rewards by shouting the requested support type into your 'global' voice chat channel.
Waiting nervously for the order to attack? For the practical jokers in a squad, attacking your own team-mates with HE grenades is a sure-fire hit to lighten the mood during tense situations. It has the added bonus of keeping everyone alert!
 |
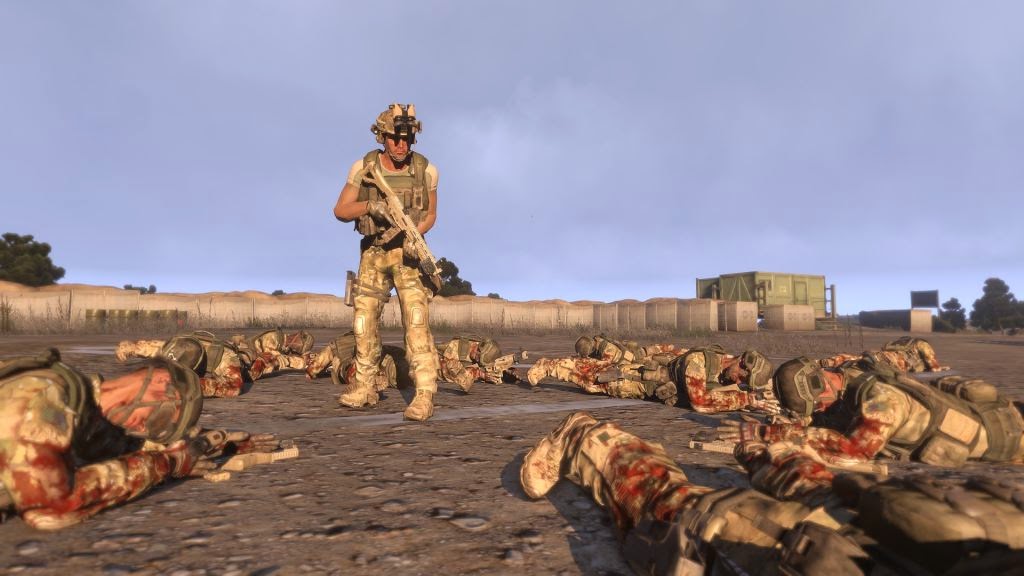
| Comedy gold! |
 |
| Screaming a battle cry over the voice channel can also really help. |
* * *
High-Level Tactics
Patrolling an Area: One of the most common situations you'll encounter in the ArmA series, a well-executed patrol can ensure security for a friendly location, or actively seek out enemy troops. Everyone should be on high alert for the slightest sound or movement. If in doubt, fire a warning shot in the direction you think it came from - better safe than sorry!Optimal Formation: Spread out widely. Having to constantly ask the squad leader where they are shows a good, solid command structure.
Attacking a Bunker: A well-manned fixed emplacement strikes fear into the heart of even the most veteran ArmA player, being able to put out a hail of deadly bullets over a wide area. The key here is to use cover to your advantage, and this is where your riflemen will really come into their own, making full use of the 'human shield' gambit.
Bunkers are commonly armed with fast-firing machine guns, although it's not uncommon to come across a bunker concealing a mortar team or even a helicopter gunship. Be ready for anything.
Optimal Formation: Form a tight, closely-packed column to conceal your numbers from the bunker's inhabitants.
|
| Modern combat bunkers are made of edible sandbags. |
Defending a Fixed Position: Having successfully assaulted a bunker, you need to know how to keep it under your control. Fortunately, it's largely a case of reversing the tactics you used to take it in the first place.
If you have automatic riflemen or machine-gunners in your squad, keep them towards the rear of the bunker where they will be safe from incoming fire. As the battle progresses, they will be able to use the piles of dead bodies as additional cover. Under no circumstances should anyone leave the bunker - it's dangerous out there!
Optimal Formation: Everyone crammed into one building. Don't spread yourselves too thinly - four men per window is about right.
Tactical Retreat: Your attack went badly wrong, your medic is face-down in a pool of blood, and mortar shells are dropping from the sky. It's probably time to go somewhere else.
Your instinct may be to rally up what's left of your squad and leave together, but consider this: the more people you leave behind, the more the enemy will focus on them and not you. For your own survival, it's best to run away as quickly and silently as possible.
Optimal Formation: Who cares? Just run!
* * *
Communication
Lastly, we'll cover some of the nuances of communication in ArmA. Being a military simulator, many of the phrases and words you hear over the radio may be new to you, and there are certain protocols you should try to follow to make yourself understood. A good example of this is the phrase 'coming in hot'. Many newbies will use this when piloting into combat, but this is in fact frowned upon due to the vagueness of the statement - on Altis everything is hot. |
| Acceptable usage of "I'm coming in hot." |
| Radio Call | What Does it Mean? |
|---|---|
| Bogies ahead! | Enemy spotted! |
| Stick this joint until dessert. | Please hold this position until further notice. |
| It's overcooked! | I need ammo! |
| Rolling a kettle with a boned fore-leftie. | My vehicle has lost the near-side front tyre. |
| Ease up! You're cooking my turkey! | You're firing on friendlies! Check your fire! |
| Alpha-bear is toasted! | My squad leader is on fire! |
| This kettle's rolling on one, and my Jeeves has gone to Milton Keynes. | My vehicle has lost all but one tyre, and my co-driver has motion sickness. |
* * *
Conclusions
We hope this guide has helped you along the way from being a greenhorn to a fully-fledged mil-sim veteran. We've tried to include as much accurate information as we can, but ArmA is a huge game, so naturally we were only able to scratch the surface this time around.As always, let us know in the comments if you have any top tips of your own for budding weekend-soldiers!


Hilarious article. Really enjoyed that :)
ReplyDelete